
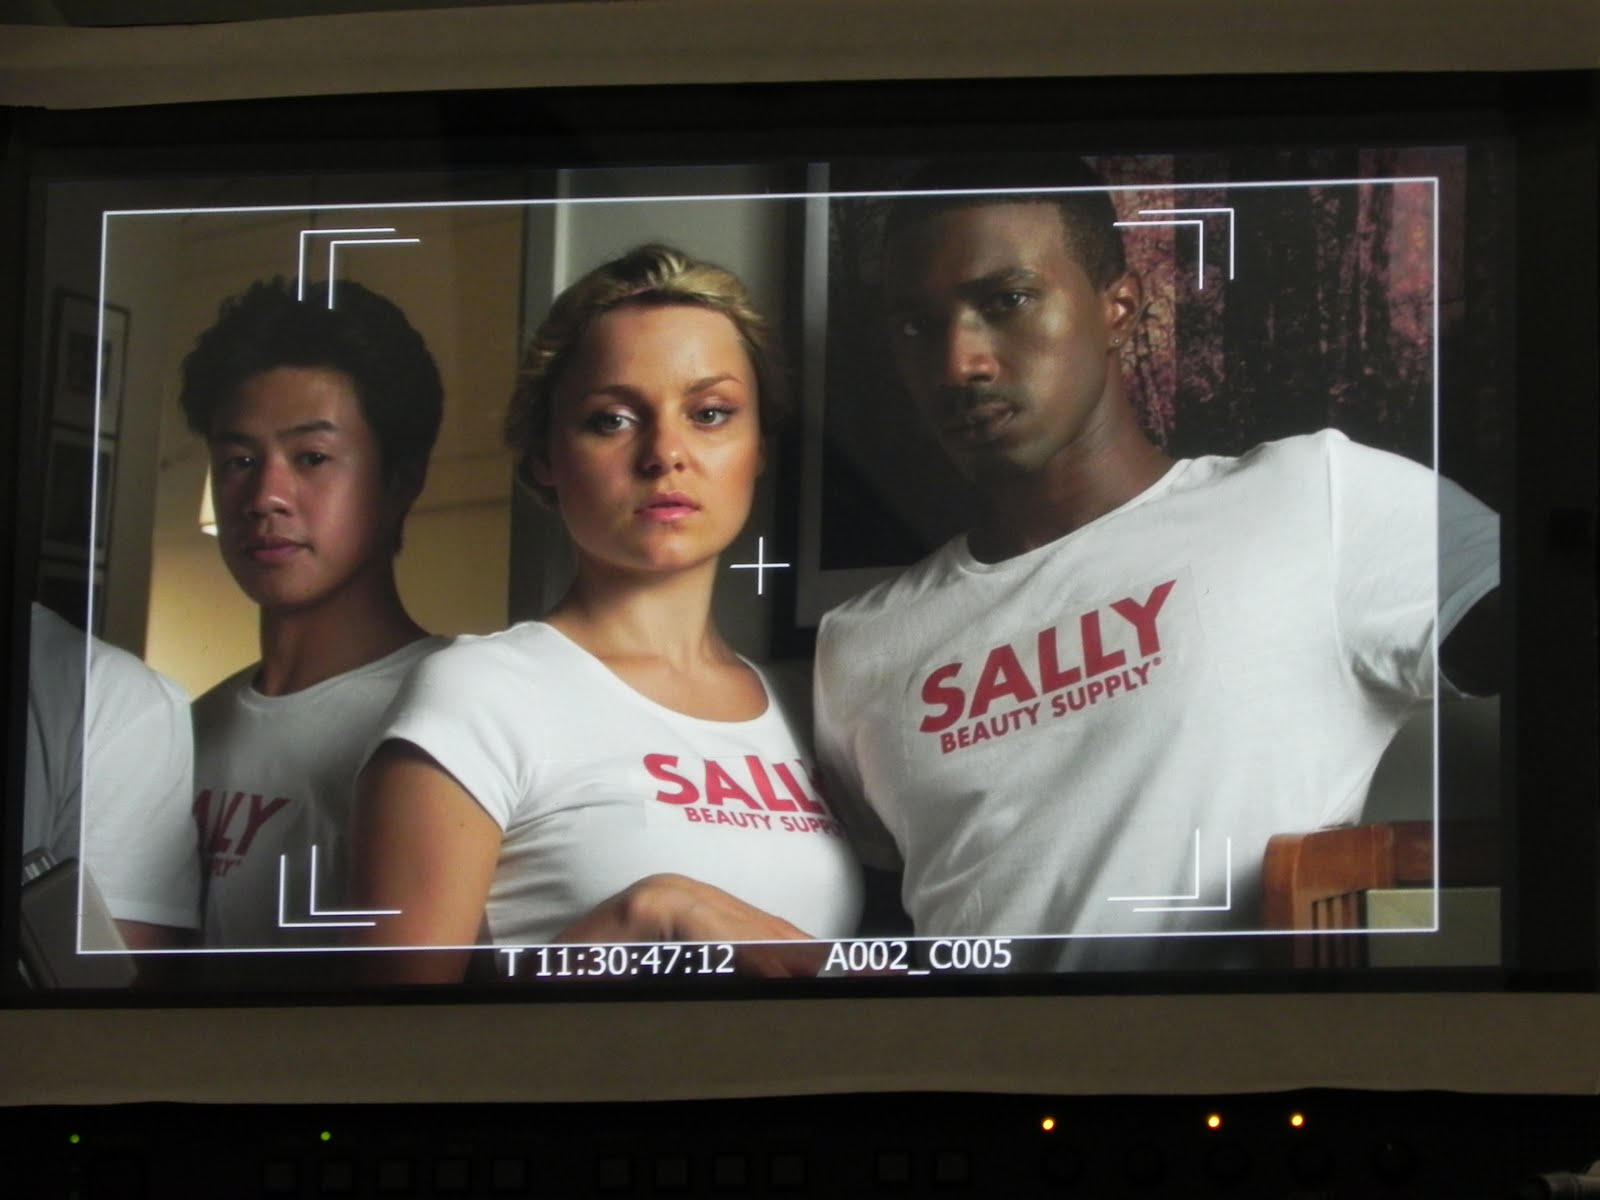
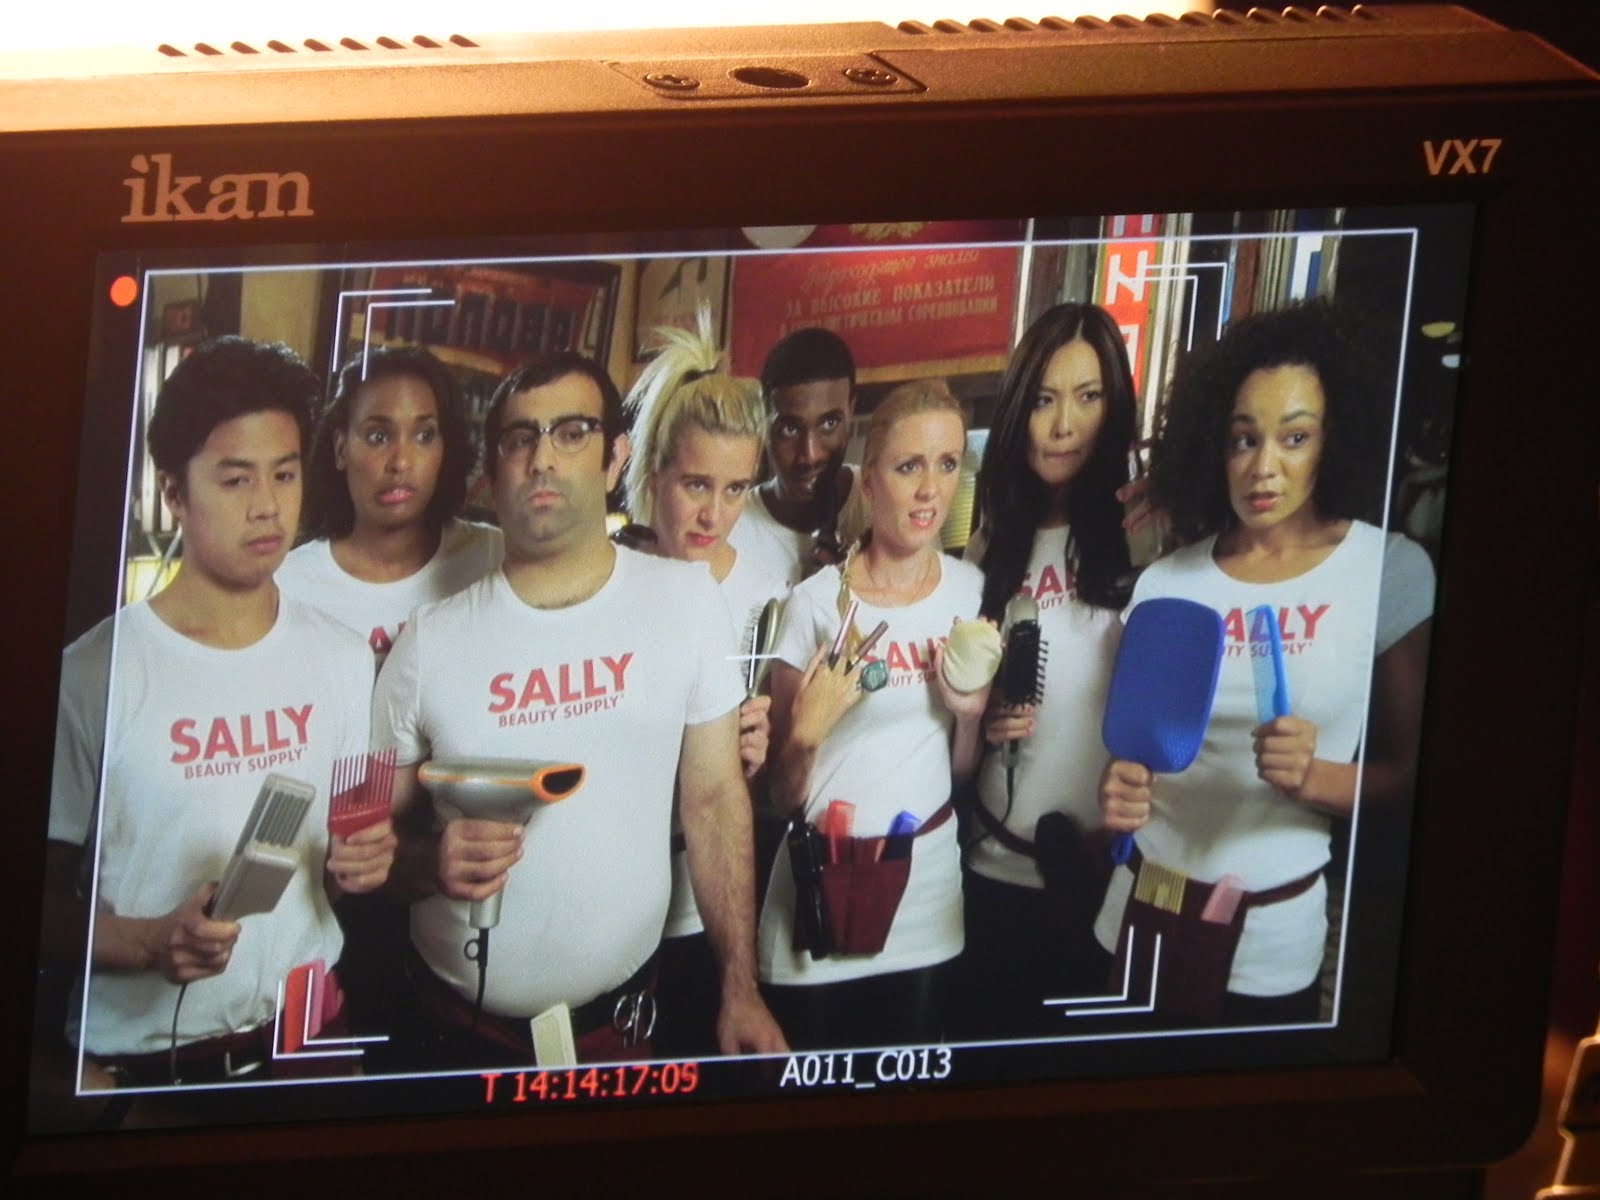
For a Sally Beauty Supply commercial I handmade a bunch of shirts for the stylists. My cat Kipling was there to observe and criticize my work.
Although I was given a PDF of the logo but the image was too small so I recreated it via Photoshop. I then reversed the image and used Avery Light Fabric Transfer paper to print and iron the logo on 15 shirts.
You should definitely try some do-it-yourself iron-ons in the near future because it's super easy, costs $24 for an 18 sheet pack and they look pretty damn good. But there are a few things to keep in mind:
1) Cut the paper carefully. Whatever part that does not have your logo, it will be the white paper instead. I chose to do a rectangle box because I was transferring lettering and it gave it a clean look. You can barely the transfer paper on the white shirt though so no need to stress too much!
2) Be careful not to leave the iron on the fabric for too long (ie. don't do a mini-photoshoot while the iron is on the fabric) because it can singe the transfer paper and leave it looking yellow.
3) Be prepared to spend a ton of money on this paper because you will be addicted and start an Etsy store with your own artwork transferred on t-shirts and tote bags.

{Kipling is not very pleased with my ironing skills}


wow, looks like these tess were made by a prof! such a great job you've done!
ReplyDeleteThanks so much! Seriously, those iron-on photo transfers are pretty amazing.
ReplyDelete